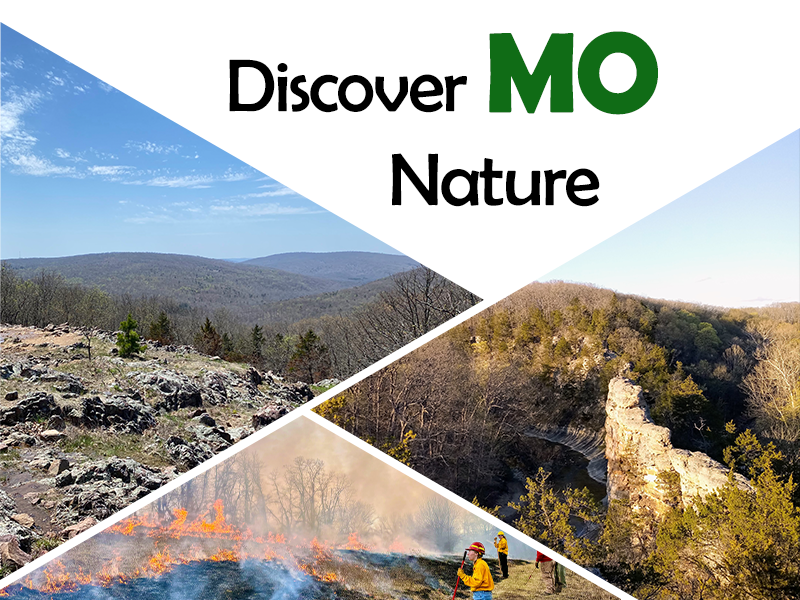
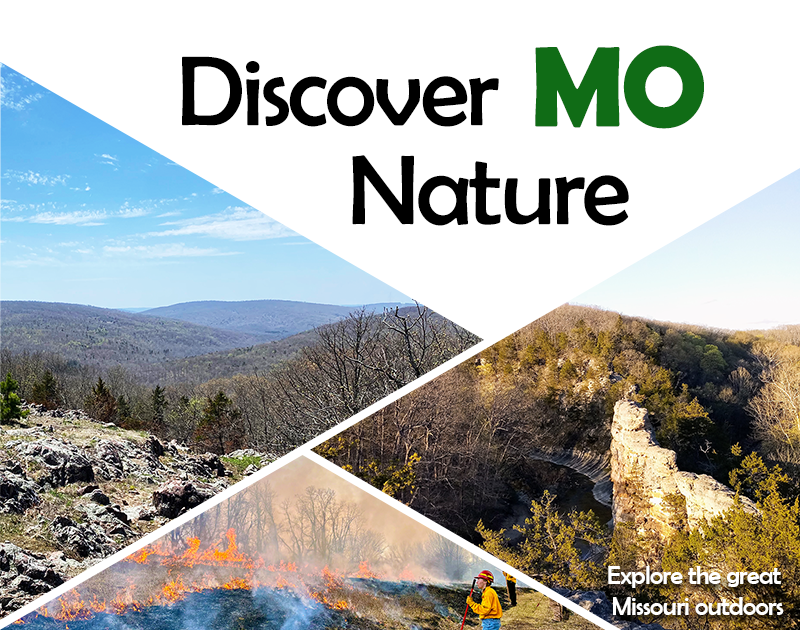
Photoshop has almost too much to offer in what it can do with photos and graphic design. I would be lying to say that Photoshop has been a breeze for me so far. Through countless tutorials, YouTube videos, and Reddit posts I can “happily” say that I’ve mastered the basics of Photoshop. I know that this will be a tool that will follow me throughout my entire career and will more than likely take my whole career to master it! Until then, I was very pleased with how my internet poster/banner turned out.
Inspiration
You may have to be a Missourian to appreciate the pun, but I love the idea of using “MO” instead of “more” to emphasize that Missouri has so much MO to offer than just being a flyover state. If you didn’t get a chance to read my last post “Learning MO About Photoshop”, my inspiration for this graphic came from a very cheesy and effective billboard going westbound on I-70 between St. Louis and Columbia, MO. The billboard read “Save MO Live” and underneath it said, “sponsored by the Missouri Coalition for Roadway Safety” which I recognized from my driver’s education class back in high school. The use of “MO” is short and sweet which I prefer for eye-catching text. In the feedback I received from my classmates, they enjoyed the cheesiness of using MO but were also confused about what the purpose of using it was.

Changes Made
To alleviate any confusion about what the graphic is portraying, I added a small text on the bottom right of the graphic. The white text blended into the background more than I was hoping for, so to make it stand out more I went into layer options and added a shadow feature to the text to make it pop more. Another suggestion a peer made was to work on the photos themselves to make them a little brighter. I didn’t think this was super necessary until I started playing around with the image adjustments and realized just how much it can enhance a picture. I decided to stay consistent with the adjustments on the photos, so I used the color pop adjustment on the pictures, and it made a huge difference making the trees and rocks stand out more. Once I thought I was done, I noticed that something just seemed a bit off. I then saw two things that I had to fix, or I could not unsee it. The first thing was the bottom left of the graphic didn’t line up perfectly with the corner. The second, is the left photo looks like it could flow into the photo on the right if the hills matched up. I then went in and replaced the photos with the updated pictures and made the hill in the left photo flow into the hill in the right photo. I made the background a tad bigger, so the bottom of the photo matched up with the bottom corner of the graphic. Lastly, I rearranged and increased the font of the top text to fill out the space a little better. While no major changes were made to the design, the little changes made all the difference in the world, making the graphics look more professional. I can’t wait to keep using this tool and see what I can create.
